Wednesday 31 August 2022

Twofer

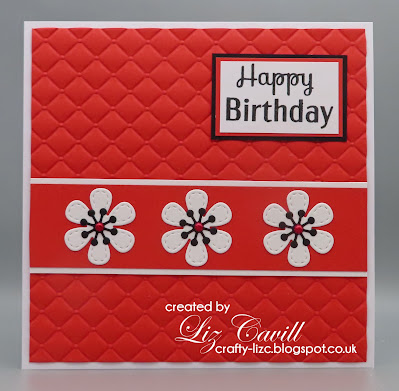
Two cards to share today.  The first is a CAS masculine card I made for a friend who celebrated his birthday last week.  He's not really into sports, but is often tinkering about mending or making something.   I thought this image would be perfect for him.

I used a Memory Box 'Grand Happy Birthday' die for the bottom part of the card.  The image is an old Papermania stamp, coloured with Promarkers.  I added three tool brads from my brad mountain.

I am joining in the following challenges with this card:


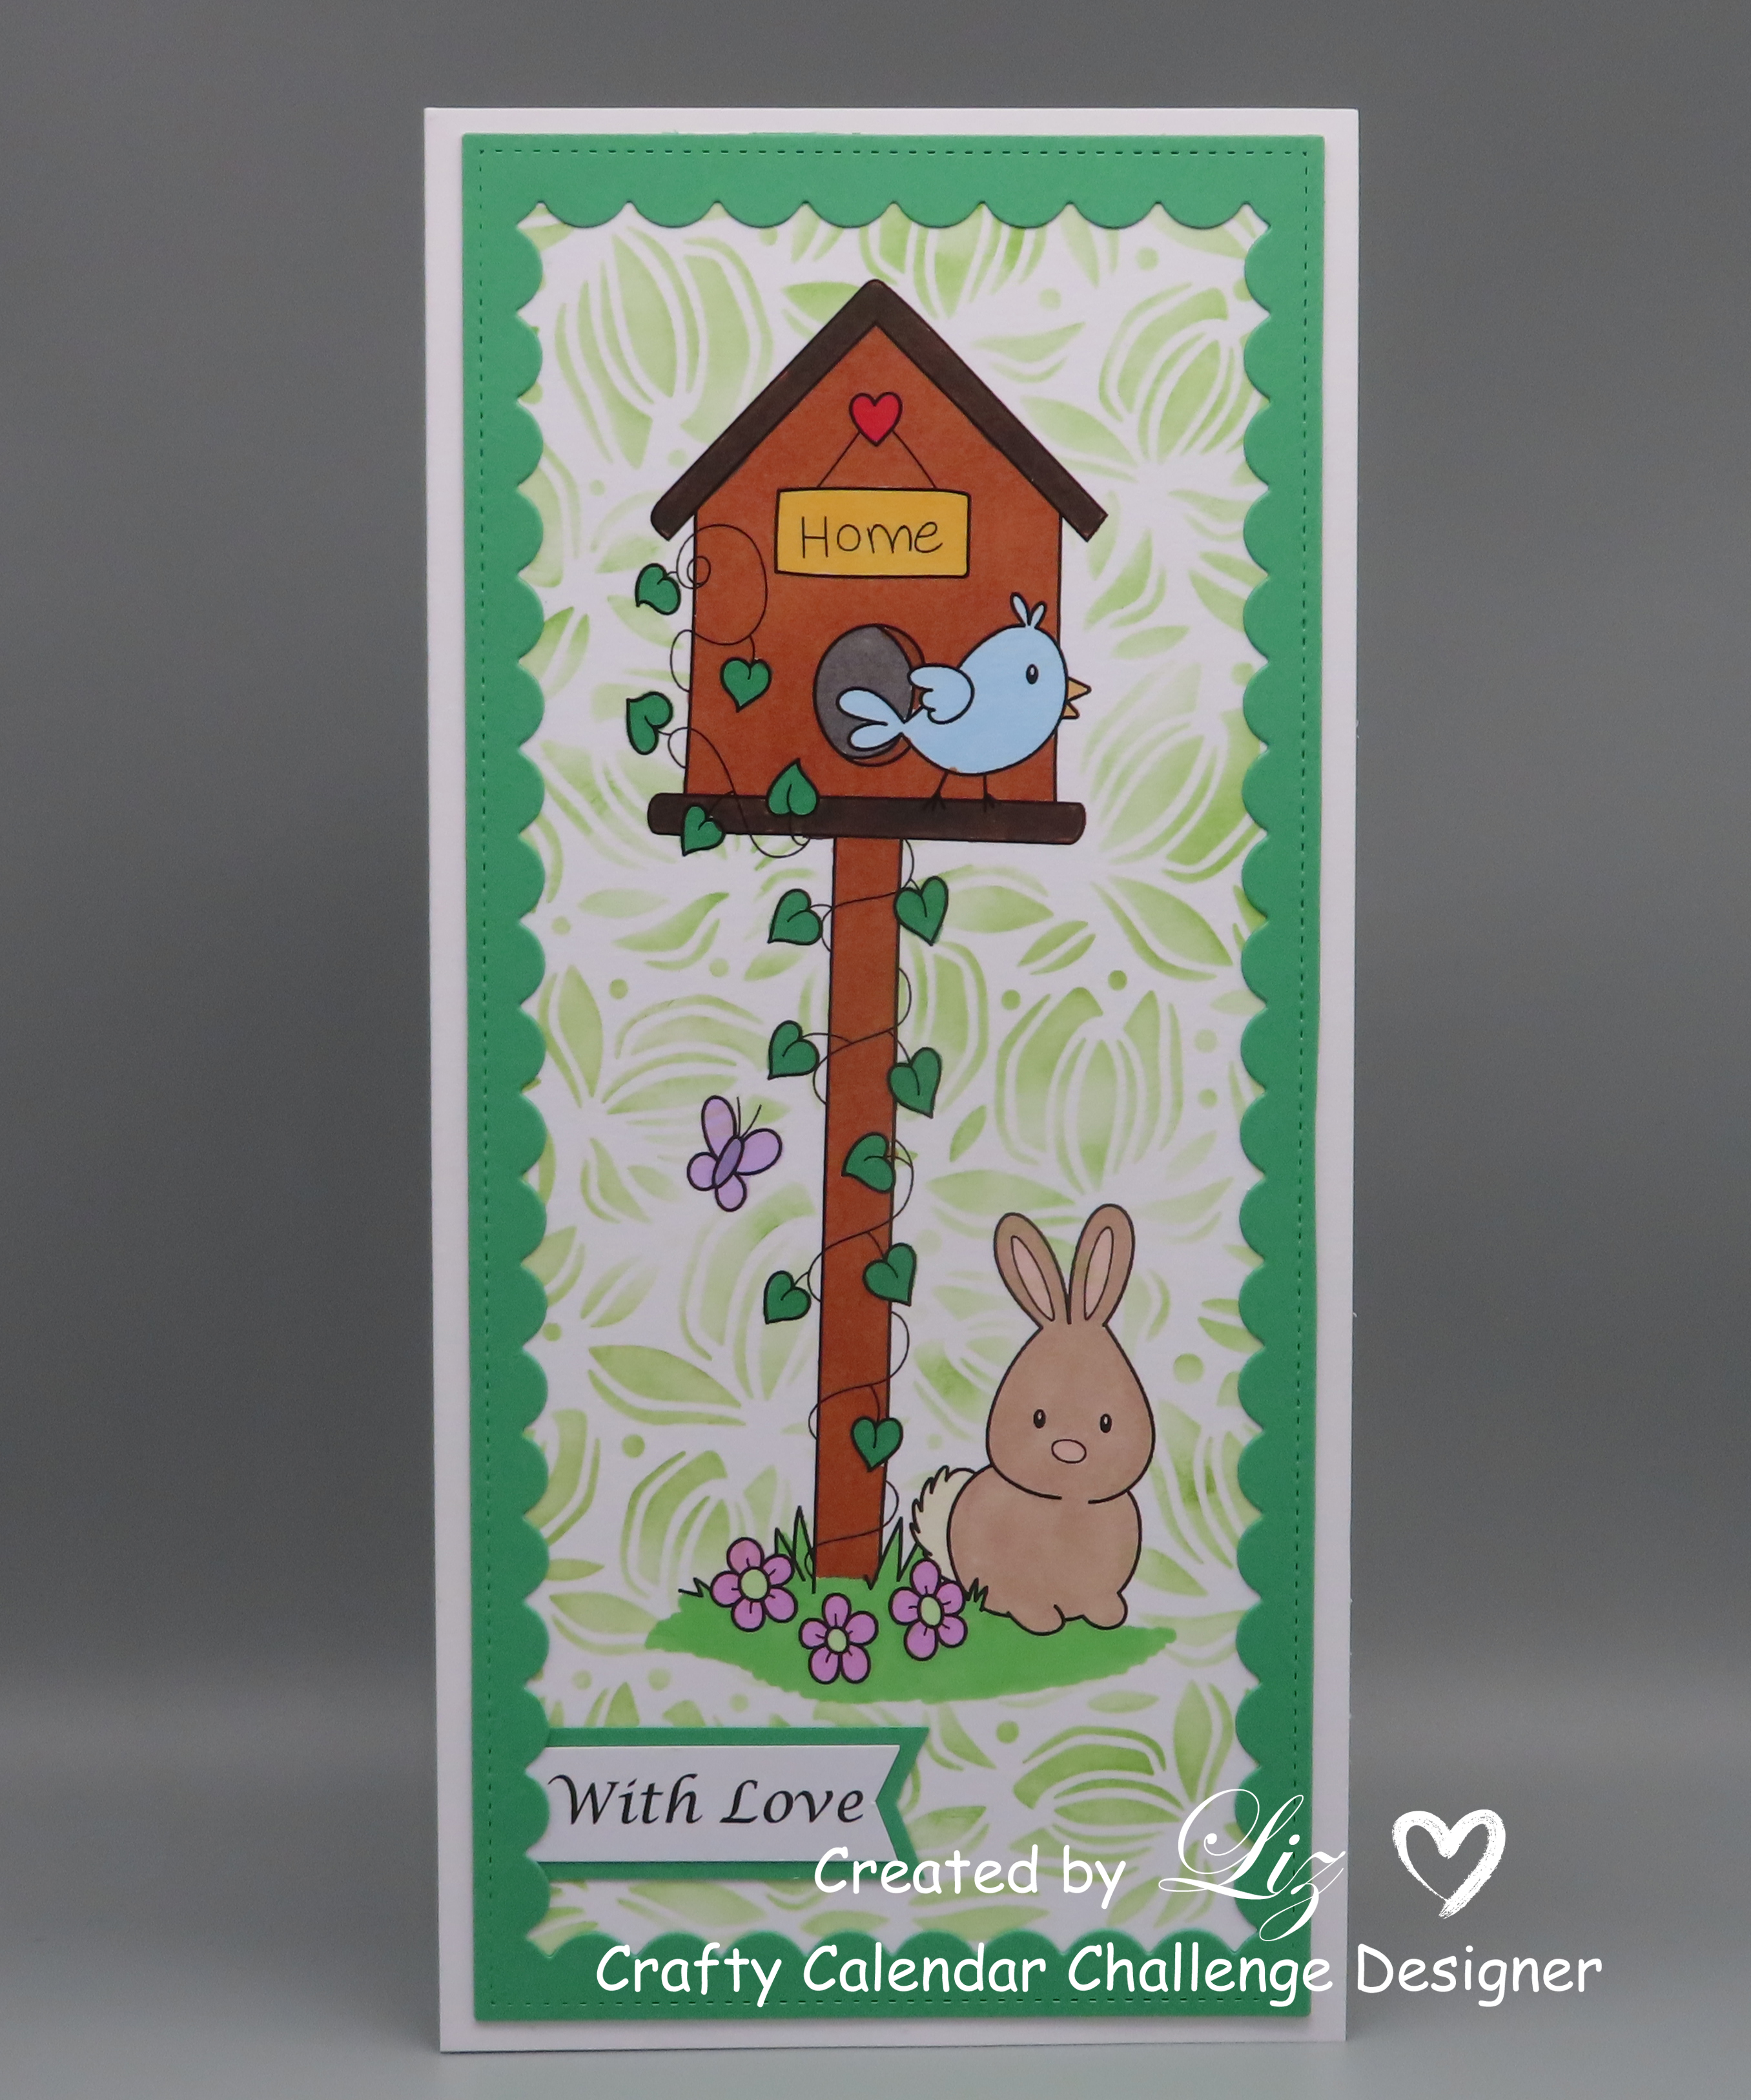
For my second card I used stamps from a set I was given a quite a while ago and had their first outing on this card.  I'm not sure of the brand.
The image had a blank face and the set had several different stamps with features to choose from to add to complete the face.   I coloured the image with Promarkers. The sentiment stamps were also from the some set and the background was embossed with a Sue Wilson 'Dotty Daisy' embossing folder.  Three tiny turquoise pearls finished off my card.

I am joining in the following challenges with this card:


Friday 26 August 2022

Quilted Background

A fairly CAS card using one of my current favourite embossing folders.  I made this card a little while ago and forgot to post it on my blog.

The embossing folder is Lisa Horton's 'Padded Quilt'.  The flowers and sentiment were from Lisa Horton's first box kit and I added a pearls to the centre of each flower.

I made a similar card in different colours, using another flower die from the box kit.

I am joining in the following challenges:


Thursday 25 August 2022

Christmas and Roses

The August Rudolph Days Challenge begins today and run until the end of the month.  On a recent holiday, I took some cross stitch die cuts to stitch and this is one I've made into a card.

I used a set of Marianne Designs 'Cross Stitch Tree' dies and cross stitched the tree with crochet cotton.  The background is embossed with a Crafter's Companion 'Snowflakes' embossing folder.  I added a strip of ribbon across the bottom, used SU punches to cut out the sentiment and scalloped mat and raised up the sentiment on foam pads.  A tiny gold gem in the middle of the star finished off my card.  All the white card was snippets, so I'll be sharing this card over in the Playground.

I am joining in the following challenges with this card:


My second card is a fairly CAS one.
I stamped the Woodware 'Tall Deco Vase'  image with Memento 'Tuxedo Black and coloured it with Promarkers.  I stamped the sentiment and layered the image on a red mat.  I used the set of stamps for the first time, so I'll be sharing my card over in the NBUS Challenge.

I am joining in the following Challenge with this card.


Saturday 20 August 2022

Faux Stepper Card

We came home from holiday a couple of days ago and I needed to get my crafty mojo going again.

The current Butterfly Challenge is 'F for Faux Stepper Card'.   Mrs A has put the instructions for several different versions HERE.  The other elements for the Butterfly Challenge are Fandango (Bright Pink), Fulvos (Dark Yellow),
Flirt (Violet), Forest Green and Faux Stitching + a butterfly.  By chance I watched a video yesterday on the Nifty Noodles Crafting Facebook page, demoing a Faux Stepper Card.  As it's a friend's 70th birthday next month, it seemed fate that I should make this style of card to get my mojo going again.

The butterfly is a Memory Box 'Vivienne Butterfly' navy die cut and I inlaid all the coloured pieces.  I last used this technique with this particular die five years ago and I'd forgotten how fiddly it is.  It will probably be another five years before I do it again!  I used a Crafter's Companion 'Sew Lovely - Sashiko' embossing folder,  (my faux stitching element for the Butterfly Challenge).  The papers are from a paper pad from The Works.
 

I am joining in the following challenges:


Tuesday 9 August 2022

Fancy Fold Cards

Welcome to my new follower, Barb Finnical.  I'm sure Barb would love you to visit her blog HERE and see all her beautiful creations.

I have a couple of Fancy Fold cards to share today.

I own a die which die cuts a slightly bigger version of this style of card, but I decided to follow the instructions HERE for making the base card by hand.
I didn't have a plain circle die big enough, so I drew round a plate to make the base card, cutting the circle out by hand.  The small circle is a Memory Box 'Stitched Scallop Circle' die cut.  The flowers and leaves are from the Sue Wilson 'Passion Flower' set and I added tiny pearls to the centre of the flowers.  All the patterned paper was snippets from a paper pad from The Range.  The papers are 12 x 12, so plenty of snippets are left over every time a use a new sheet. 

I am joining in the following challenges with this card:
My second card is a Double Z Fold nautical card.
I used a Joanna Sheen ' Lighthouse' die and the patterned paper is from a Trimcraft 'Sail Away' paper pad.  The embossing folder is a Cuttlebug one, 'Anchors Aweigh'


I am joining in the following challenges with this card:


Saturday 6 August 2022

Birdhouse

The Crafty Calendar Challenge begins today with the easy theme, 'Anything Goes'.  Our generous sponsor this month is Paper Nest Dolls.

Our sponsor kindly gave the DT images to work with and I chose to use Birdhouse.  I coloured the image with Promarkers, then stencilled the background using a Lavinia 'Flower Petals' stencil. The frame is a die from Lisa Horton's 'Slimline Inverted Scallop Frame' set.  I added a sentiment and hand cut the banner. 

The Crafty Calendar Challenge ends on 28th August.  Pop over to the challenge blog to see the beautiful cards the DT have made to inspired you.

I am joining in the following challenges:


Wednesday 3 August 2022

Twist and Fold Card

Two fancy fold cards to share today which are fun to make.  I've written the instructions showing how I made them.  At the end of the post is a little video to show how they open and close.

The butterflies are attached just by the body and antennae.  This is the card closed.....


..... and this shows what it is like when opened.

There are a lot of templates online for starting with a 8" x 8" piece of card, but I couldn't find any for 10" x 10", so I've made one below.  The finished card when folded will be 5" x 5".   The larger version is less fiddly to fold.

Start with a 10" x 10" piece of card, it's best to use fairly thin card as it will be easier the fold the card flat. 


The blue and red lines are the score lines.  I found it easiest to score the four rectangles in the corners first, then score the four diagonal lines.
Red lines = Mountain folds 
Blue lines = Valley folds

Decorate the sections with mats ¼" smaller than each section.

When folded, the four corners are the parts that will show on the front of the card, so embellishments can be added on the corners. 

I've left the middle of the card blank for the message, but you could decorate this area and write the message on the back.  To close the card, make sure all your mountains and valley folds are well burnished, to enable you to easily twist and fold the card.

For my second card, I added a white mat and changed the shape I used of some the mats.  The flowers are attached just at the middle and the petals bent up to add some dimension.


This little video shows how the card opens and closes.  You may need to click on it twice to view.

I am joining in the following challenges with the pink card:


Monday 1 August 2022

NBUS Spanner Panel Card

 I was delighted to be invited to be a Guest Designer for the August NBUS Challenge .  I have a huge medium size collection of NBUS (Never-Before-Used-Schtuff), things I buy with the good intention of using them straight away, but somehow don't get round to using them.  For this card I've used a die that I bought recently and was determined to use it before I packed it away.  I bought it in an independent craft store I visit regularly when we are staying in our caravan.  I bought a few essentials in the store and when I paid I was given a £5 loyalty voucher.  Rather than risk losing the voucher before my next visit I decided to look for something to spend it on and settled on this die, which I've had my eye on for a while.  I have a few friends and relatives who enjoy sewing, so I think it will get lots of use.  Using the voucher, it only cost me 99p - a bargain!  Enough of my waffling..... onto my card.

The die is Sweet Dixie 'Vintage Hand Sewing Machine'.  I used a Crafter's Companion 'Sew Lovely - Sashiko' embossing folder for the background.  A few button finished off my card.


So why don't you try and reduce your collection of NBUS by making a card and joining in the NBUS Challenge.  I'm looking forward to seeing all your fabulous creations.

I am joining in the following challenges: